

Thank you for reading our post, please rate this article at the end.
Reading Time: 7 minutesLast Updated on November 20, 2026 by Paul Clayton
Here is how to adjust ATV shocks: start by setting tire pressure and spring preload (ride height and sag), then fine-tune compression and rebound damping one or two clicks at a time while test riding the same stretch of trail. On most utility ATVs the only adjustment is a stepped preload collar you turn with a spanner wrench; sport quads and aftermarket shocks add clicker knobs or screws for compression (usually at the top or on the reservoir) and rebound (usually at the bottom of the shock).
This guide explains what each adjustment does, how to measure sag, a step-by-step setup process, and a troubleshooting table that tells you which knob to turn for each problem.
Table of Contents
Key Takeaways
| Adjustment | What it controls | Where it usually is | Turn it up if… |
|---|---|---|---|
| Spring preload | Ride height and sag | Threaded or stepped collar on the spring | The ATV sits too low, bottoms out with a load, or wallows |
| Compression damping | How fast the shock compresses over bumps | Knob or screw at the top of the shock or on the reservoir | The shock bottoms out or dives too much |
| Rebound damping | How fast the shock extends after a bump | Screw or knob near the bottom eyelet | The ATV bounces, kicks or pogos after bumps |
| Air pressure (air shocks only) | Spring rate on air-assisted shocks | Schrader valve on the shock | Use a shock pump and the maker’s pressure chart |
| Golden rules | Adjust left and right shocks equally, change one setting at a time, write down every change, and always check your owner’s manual first | ||
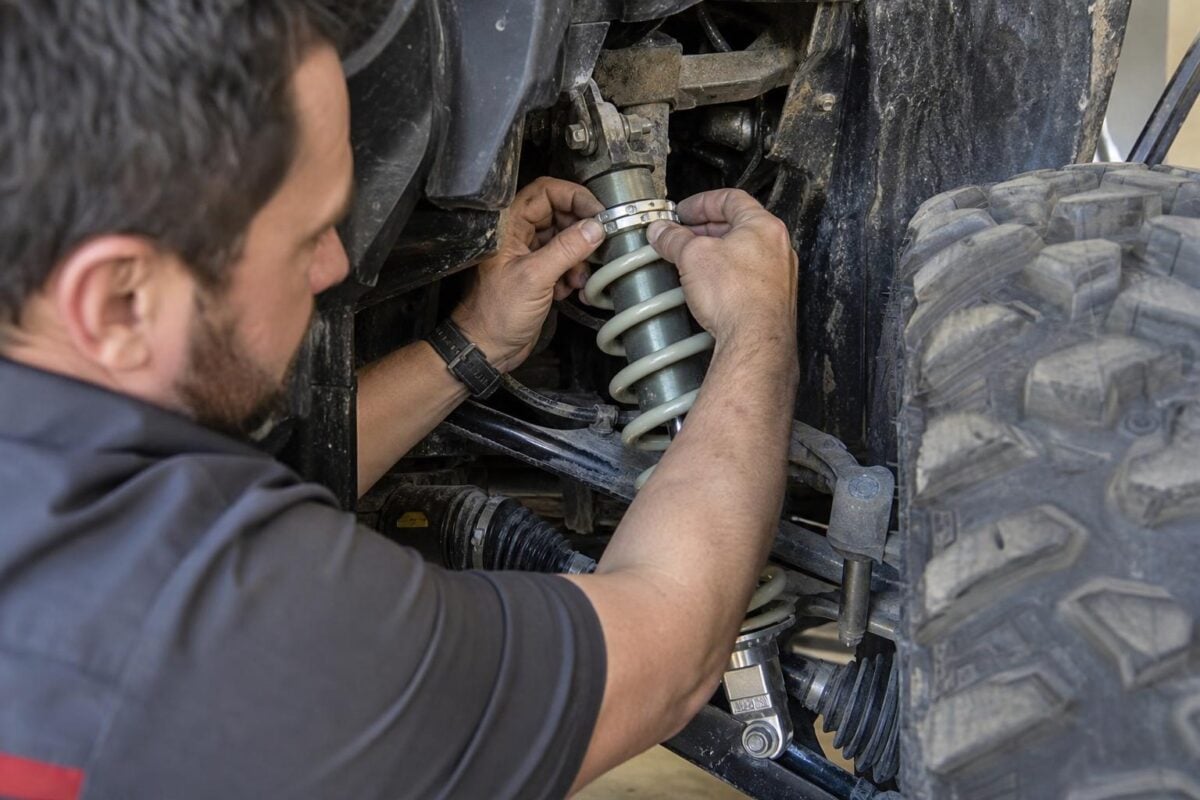
Before You Adjust ATV Shocks
- Read the manual. Your owner’s manual or the shock manufacturer’s guide lists the factory preload position, clicker settings and sag targets for your model. Those are your baseline.
- Set tire pressure. ATV tires run very low pressure, often around 3 to 8 psi depending on the model. Tire pressure changes ride quality as much as a few clicks of damping, so use the pressure on the tire label or in the manual. Our guide on what the numbers on ATV tires mean helps you confirm the right tire size too.
- Inspect the shocks. Look for oil on the shock body, bent shafts, worn bushings and loose mounting bolts. No adjustment fixes a leaking or worn-out shock. If yours need parts, see where to buy ATV parts.
- Clean the adjusters. Mud packed into preload collars and clicker screws makes them hard to turn and easy to damage.
- Gather tools. You need a shock spanner (many ATVs include one in the tool kit), a flat screwdriver or the correct clicker tool, a tape measure, a notepad, and a shock pump if you have air shocks.
How to Adjust ATV Shocks Step by Step
Step 1: Record your starting settings
For each clicker, gently turn it clockwise until it lightly stops, counting the clicks or turns. That number is your current setting, counted “out from full stiff”. Return it to where it was and write it down. Do not force adjusters past their stop, because you can damage the needle valve. On preload collars, note which step the cam sits on or measure the length of threads showing above the collar.
Step 2: Set preload and sag
Sag is how far the suspension compresses under the ATV’s weight and the rider. Measure it like this:
- Lift the rear of the ATV by the grab bar until the suspension is unloaded but the tires still touch the ground. Measure from the center of the rear axle straight up to a fixed point on the fender or frame.
- Set the ATV down, sit in your normal riding position wearing your gear, and have a helper take the same measurement.
- The difference is your rider sag. Repeat for the front, measuring from the ground to a marked point on the front of the frame.
Sag targets vary widely by machine and shock, from roughly 10% of total travel on some sport quads to around a quarter of travel on others, so use the figure from your shock or ATV maker. If sag is too large, add preload. If it is too small, reduce preload. On threaded collars, loosen the lock ring, turn the adjuster ring, and retighten the lock ring. On stepped cam collars, rotate the collar with the spanner to the next step.
Lift the ATV on a stand or jack so the wheels hang free before turning stepped collars. The spring is unloaded and the collar turns more easily and safely. Set both shocks on the same axle to exactly the same position.
Step 3: Adjust compression damping
Compression damping slows the shock as it compresses. More compression (usually clockwise) makes the ATV firmer, resists bottoming and reduces dive under braking. Less compression makes it plusher over small rocks and roots but easier to bottom. Some premium shocks have separate low-speed (body movement, braking, cornering, small bumps) and high-speed (sharp hits, landings, square-edged bumps) adjusters. Change one at a time.
Step 4: Adjust rebound damping
Rebound damping controls how fast the shock extends after compressing. Too little rebound and the ATV bounces or kicks the rear end up after bumps and jumps. Too much and the shock cannot extend fast enough between bumps, so it “packs down” in whoops and feels harsh. Adjust in one or two click steps.
Step 5: Test ride and fine-tune
Pick a short test loop with the kind of terrain you usually ride and run it the same way after each change. Change one setting at a time, by one or two clicks, and note how it feels. Once it feels right, record the final numbers so you can return to them after maintenance or after trying a different setup.
ATV Shock Adjustment Troubleshooting Table
| Symptom | Likely cause | What to try |
|---|---|---|
| Bottoms out on jumps or big hits | Too little compression or preload | Add compression 1 to 2 clicks (high-speed if available); check sag and add preload if needed |
| Harsh and jarring over small bumps and roots | Too much compression or tire pressure too high | Reduce compression 1 to 2 clicks; check tire pressure |
| Bouncy, pogos after bumps, rear kicks up | Too little rebound damping | Add rebound 1 to 2 clicks |
| Packs down and gets harsh in whoops | Too much rebound damping | Reduce rebound 1 to 2 clicks |
| Front dives hard under braking | Front compression or preload too soft | Add front compression or a step of preload |
| Rear sags with a cargo load or passenger rack load | Not enough preload for the load | Raise rear preload; drop it again when unloaded |
| ATV pulls or leans to one side | Left and right shocks set differently, or a worn shock | Match both sides; inspect for leaks |
| Front feels vague and pushes in corners | Front sitting too high or rear too low | Rebalance sag front to rear |
Utility ATVs vs Sport ATVs
Utility ATVs, such as typical 4×4 work and trail machines, usually have only a five-position cam preload collar on each shock. Increase preload when you carry heavy loads on the racks, tow, or plow, and reduce it for a softer ride when riding unloaded on rough trails. If you use your machine for chores, our guide to choosing a UTV or ATV for the farm covers load capacities.
Sport ATVs and aftermarket shocks from brands such as Elka, Fox and Walker Evans typically add threaded preload, dual-rate springs with crossover rings, and compression and rebound clickers, sometimes with separate high- and low-speed compression. The shock maker’s setup guide gives a baseline for each. If you are still choosing a machine, read what kind of ATV you should get.
Air shocks
Air-assisted shocks use pressure instead of, or in addition to, a coil spring. Use only a dedicated shock pump, not a tire pump or compressor, because shock pumps meter small volumes at high pressure. Set pressure with the shocks cold and the ATV unloaded, following the manufacturer’s chart.
Safety When Adjusting ATV Shocks
- Work with the engine off, in park or gear with the parking brake on, on level ground. Support the ATV on solid stands, never on a jack alone.
- Wear eye protection and gloves. Springs store a lot of energy.
- Never take apart a gas-charged shock or reservoir. Most performance shocks are charged with high-pressure nitrogen and must be serviced by a qualified suspension shop.
- Do not exceed the adjuster’s range or force a clicker past its stop.
- Test ride at low speed first, in a safe open area, with a helmet and full protective gear. See our guide on what to wear when riding an ATV.
- If the ATV handles unpredictably after changes, return to your recorded baseline and have a dealer or suspension shop check it.
How to Adjust ATV Shocks FAQ
Which way do I turn the clickers to stiffen ATV shocks?
On most ATV shocks, turning a clicker clockwise (in) adds damping and makes it firmer, and counterclockwise (out) softens it. Some brands differ, so check the markings or manual. Turning a preload adjuster to compress the spring further raises ride height and firms the initial feel.
Does adding preload make the spring stiffer?
No. Preload changes ride height and sag, not the spring rate. If you need a lot of preload to reach the right sag, the spring is probably too soft for your weight or load, and a stiffer spring is the real fix.
How often should I check my ATV shock settings?
Check sag and look over the shocks whenever you change riders, add a heavy load, change tires, or after a hard crash. Most manufacturers also list shock oil service intervals by hours of use.
Can I adjust ATV shocks without special tools?
Clickers can usually be turned by hand or with a screwdriver, but preload collars need a spanner wrench. Many ATVs include one in the factory tool kit.
Why does my ATV still ride rough after adjusting the shocks?
Check tire pressure first, then look for worn bushings, ball joints or leaking shocks. Old shocks with tired oil or springs may need rebuilding or replacing.
Final Thoughts
Learning how to adjust ATV shocks is mostly a matter of method: set tire pressure, get sag right with preload, then tune compression and rebound in small steps while keeping notes and matching both sides. Start from the factory baseline, change one thing at a time, and use the troubleshooting table to decide which adjuster to turn. Leave internal service of gas-charged shocks to a professional, and ride with full protective gear while you test.
Resources
- Your ATV owner’s manual – Suspension adjustment and specifications
- Penske Racing Shocks – Shock technology articles
- Elka Suspension – ATV shock setup guides
- Fox Factory – Shock owner’s manuals
- ATV Safety Institute – Rider safety and protective gear guidance